
Firstly, remove the bodywork from the left and right sides to access the tank mounts.
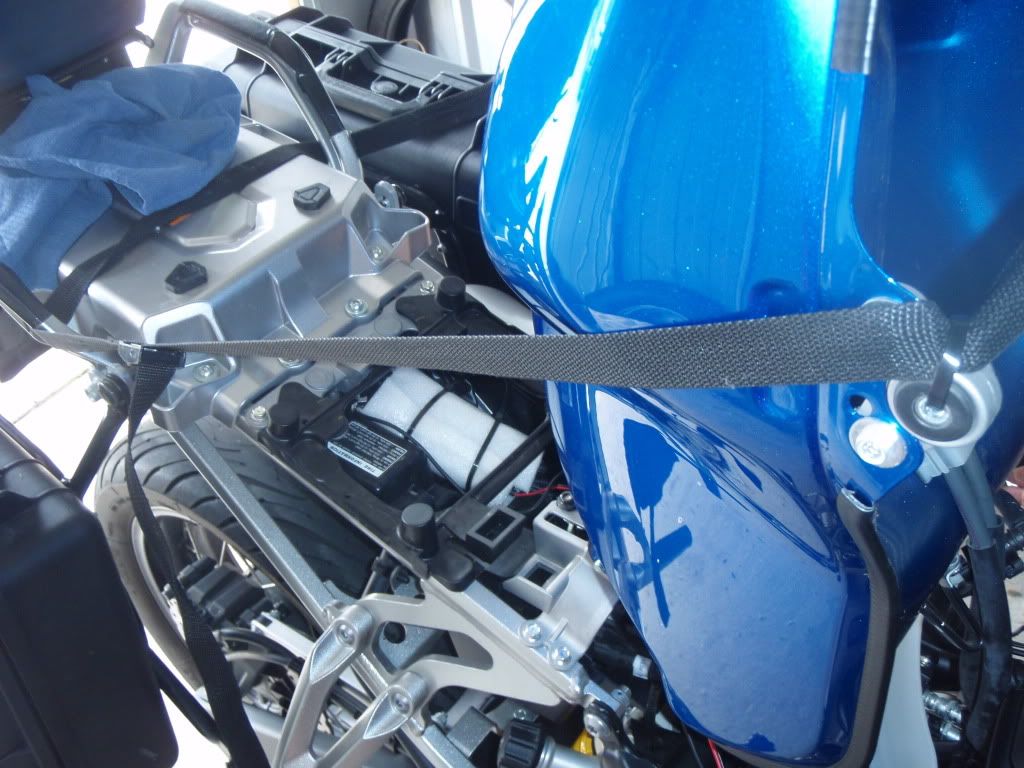
2 screws and the tank is free to swing upward - I supported it with a strap to allow quick adjustment of the angle.
 This image has been resized. Click this bar to view the full image. The original image is sized 600x450.
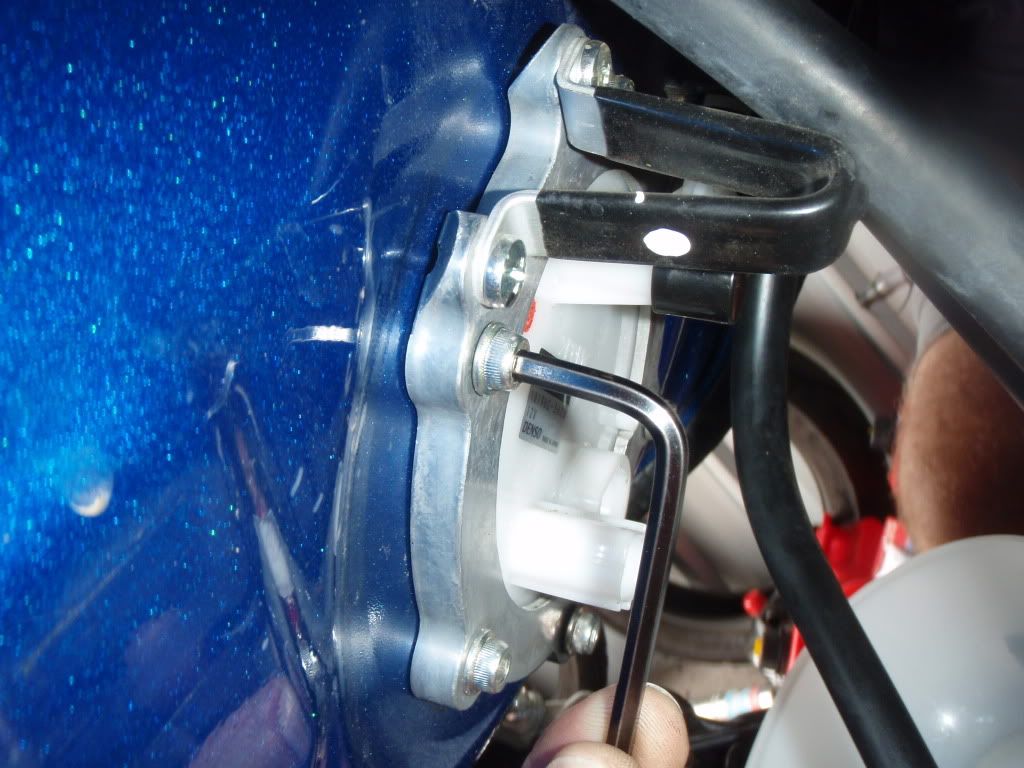
Disconnect the electrical plugs then methodically remove the hex screws from around the retaining ring.
This image has been resized. Click this bar to view the full image. The original image is sized 600x450.
Even with the tank syphoned "dry" fuel will flow once the pump is freed - catch it.
Click this bar to view the full image.
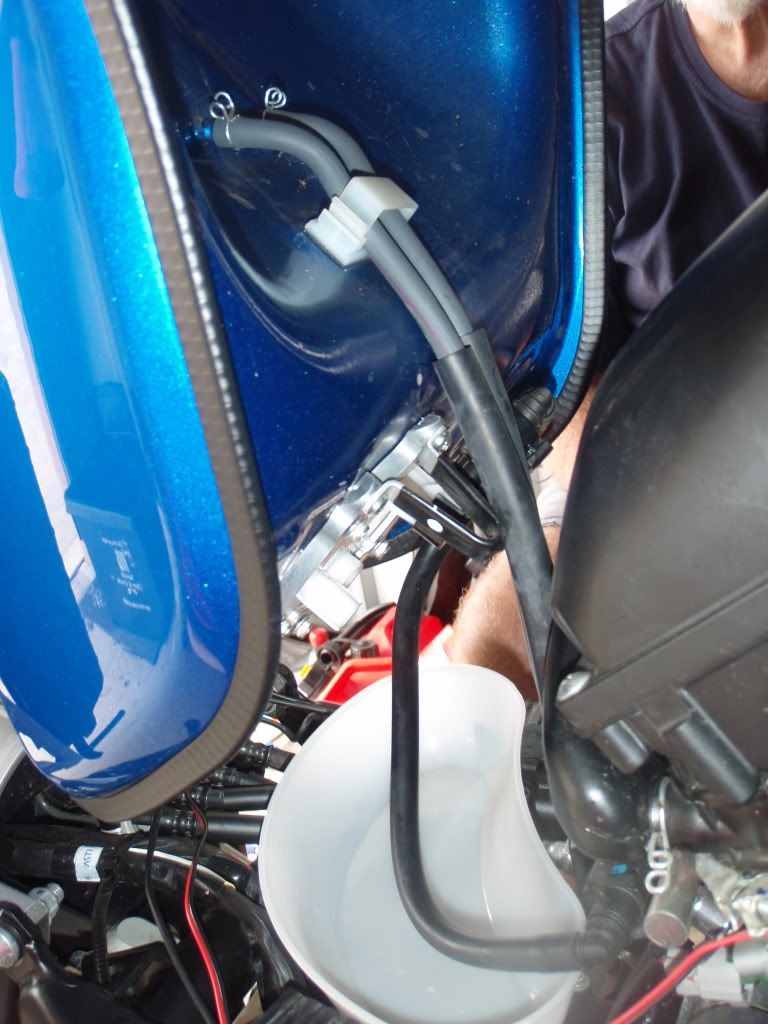
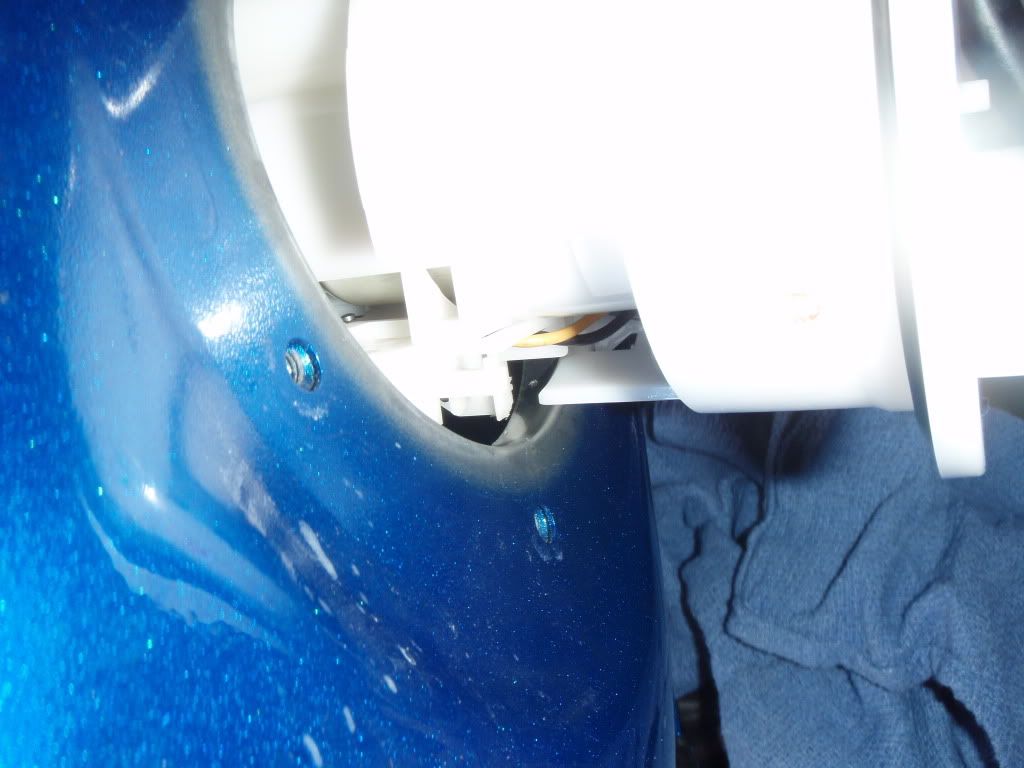
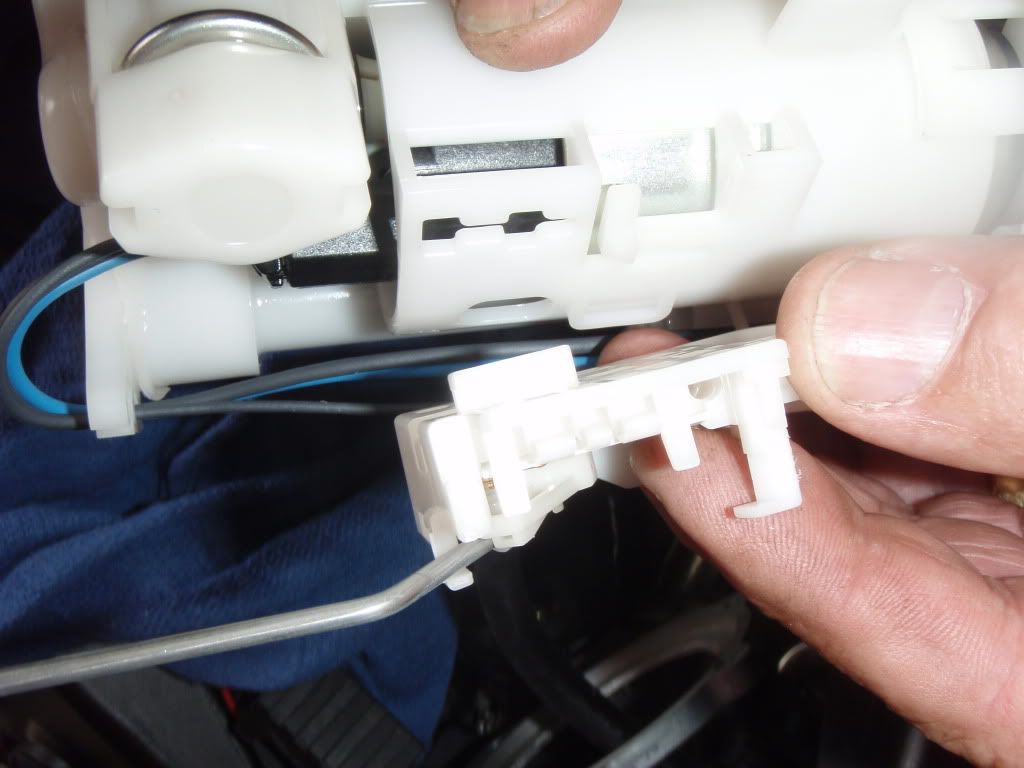
Removing the pump is difficult as the sender unit catches on the tank opening. I disconnected the sender while it was still in the tank.
This image has been resized. Click this bar to view the full image. The original image is sized 600x450.
Once out it can be clicked back together. Refitting it didn't catch on the tank opening.
This image has been resized. Click this bar to view the full image. The original image is sized 600x450.
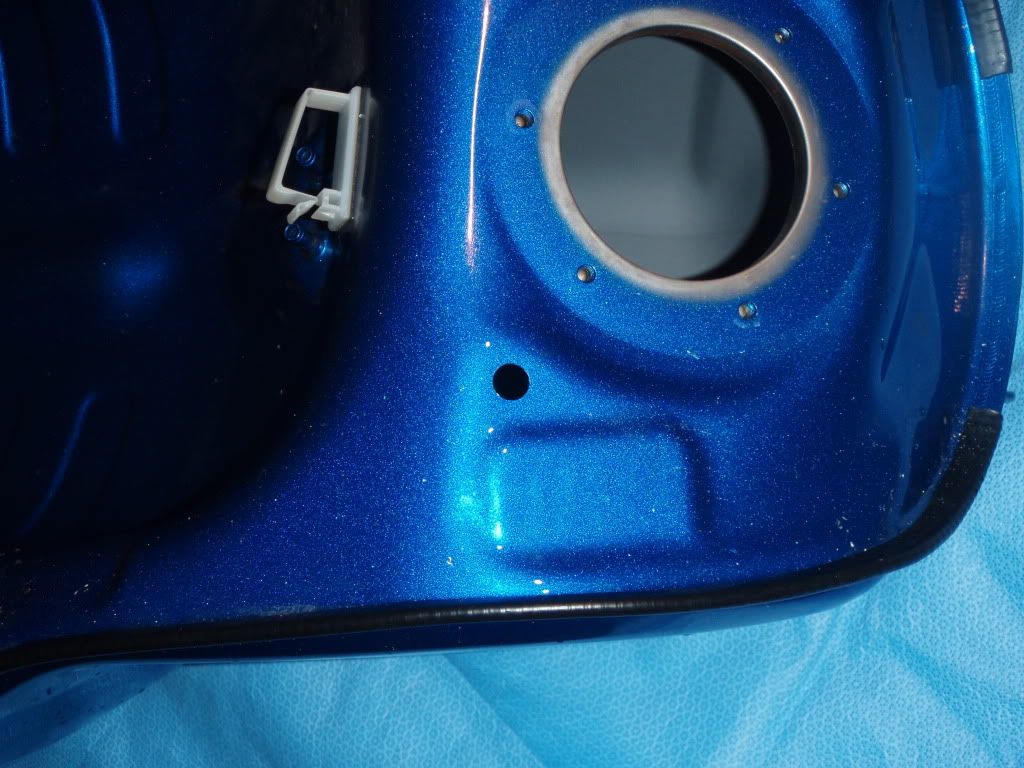
I found an appropriate flat spot and used a "unibit" to make the hole.
This image has been resized. Click this bar to view the full image. The original image is sized 600x450.
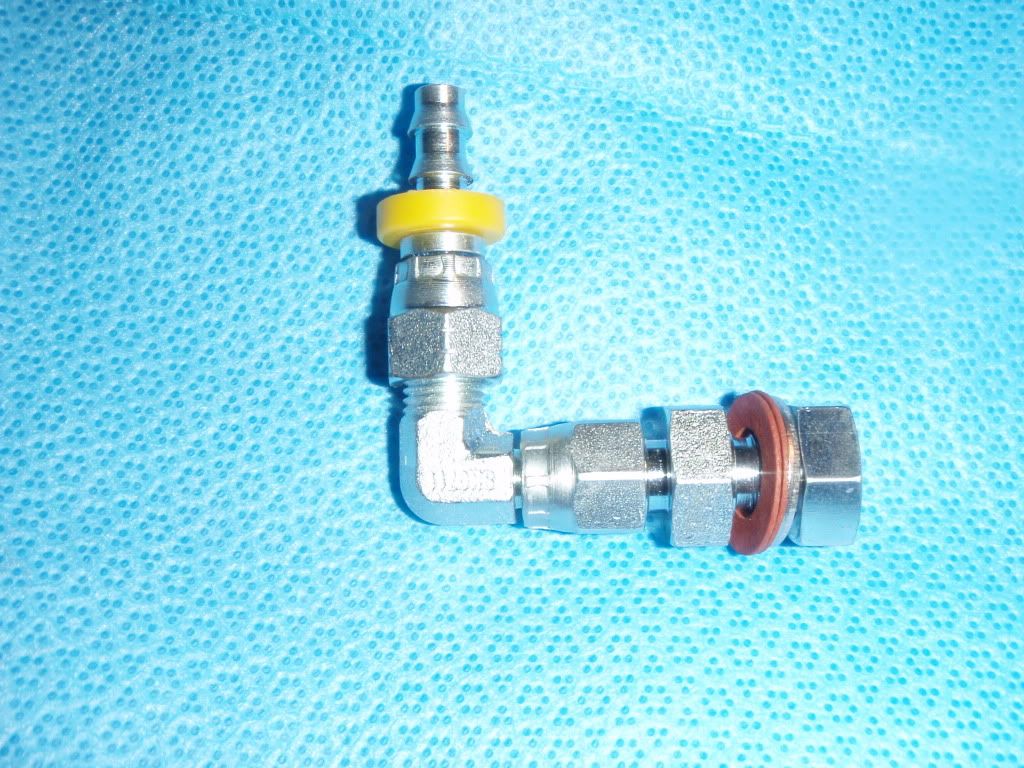
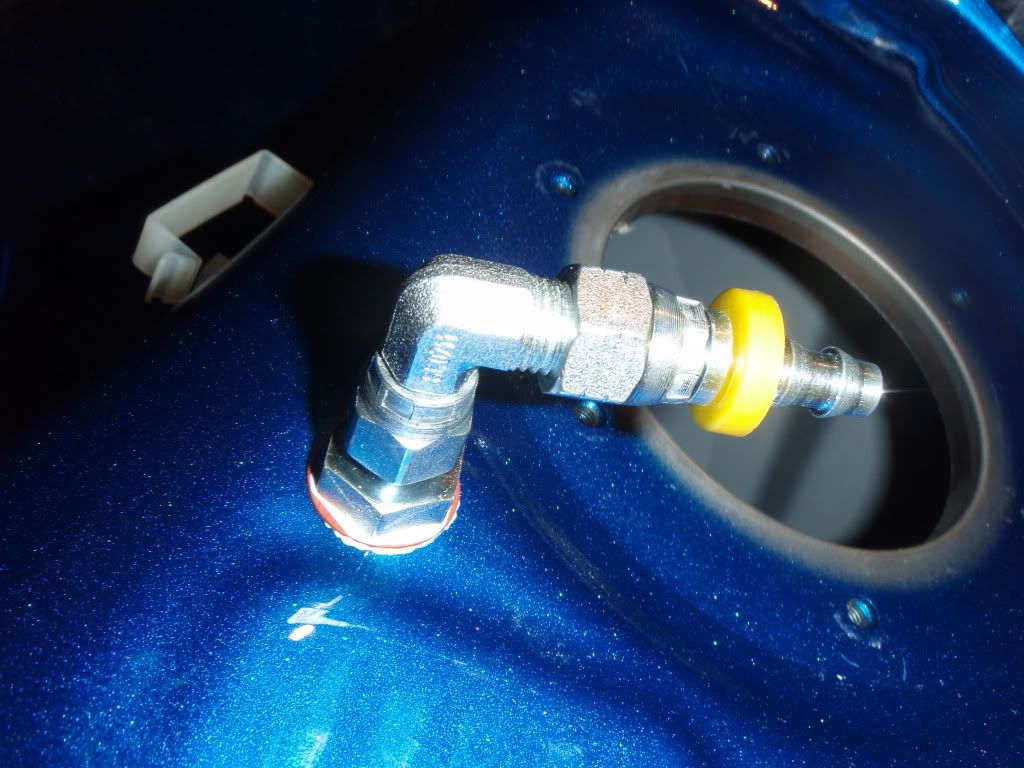
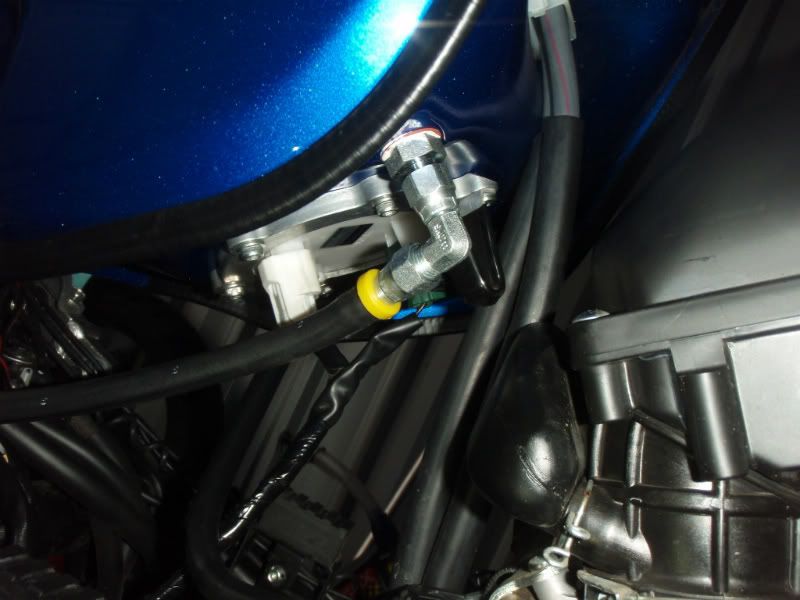
The bulkhead and 90 deg elbow with barb was selected, fuel safe thread sealer used and tightened with a stubby-handled socket through the tank opening.
This image has been resized. Click this bar to view the full image. The original image is sized 600x450.
This image has been resized. Click this bar to view the full image. The original image is sized 600x450.
This image has been resized. Click this bar to view the full image. The original image is sized 600x450.
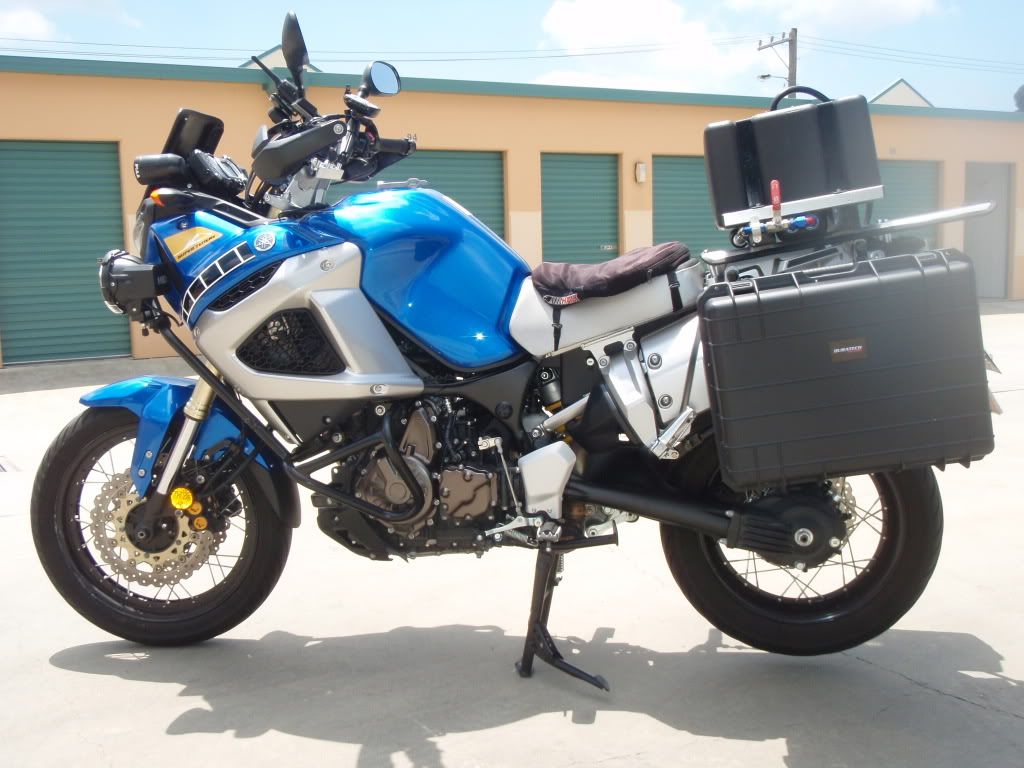
I fabbed a simple 3mm aluminium plate as a flat platform in place of the pillion seat and rear rack, drilled holes for the existing bolts and mounted up the tank on a simple frame. I can't weld - its all bolted.
This image has been resized. Click this bar to view the full image. The original image is sized 600x450.
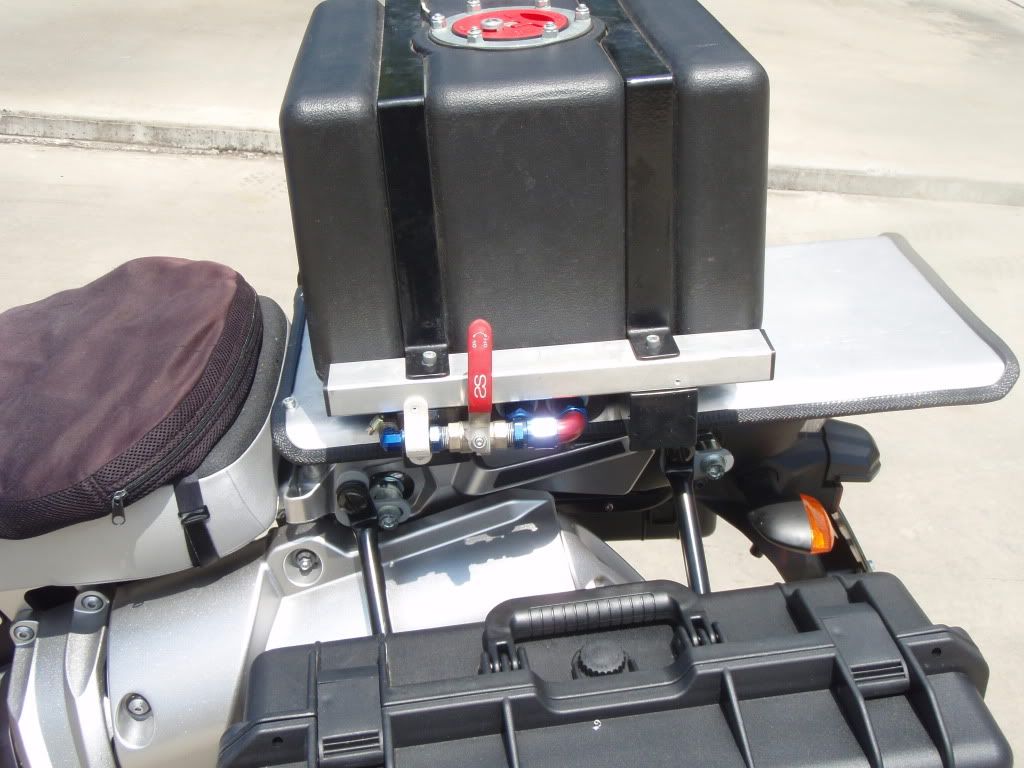
On the left side of the JAZ tank there is a bulkhead, 90 degree ball valve and an inline filter.
This image has been resized. Click this bar to view the full image. The original image is sized 600x450.
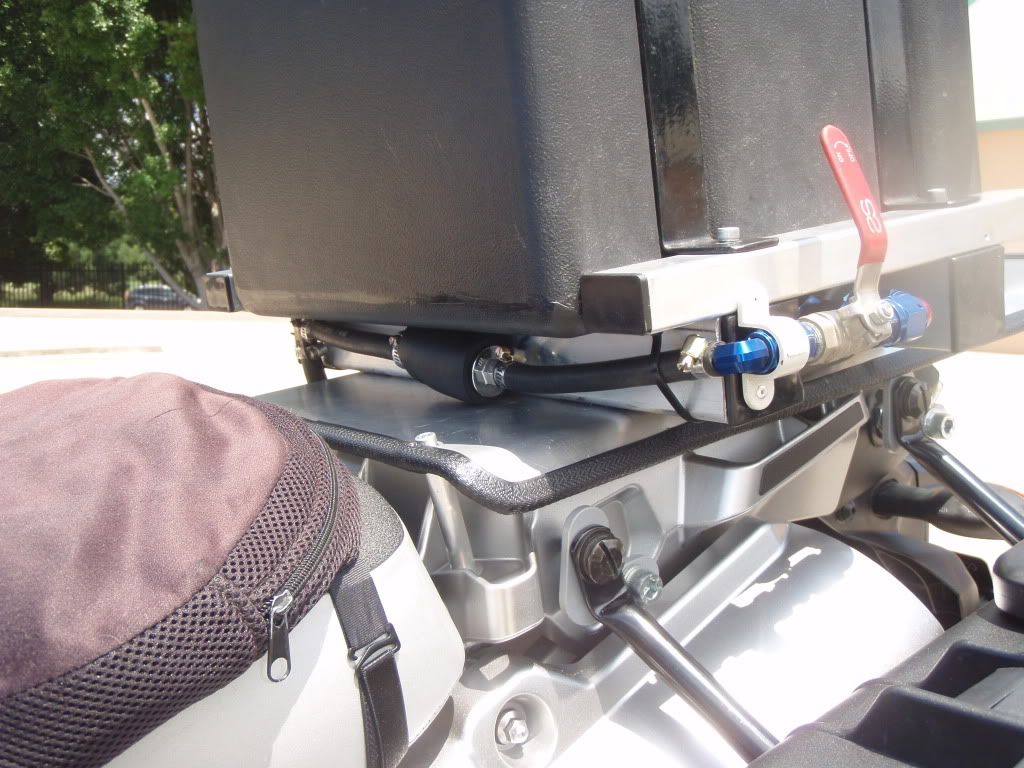
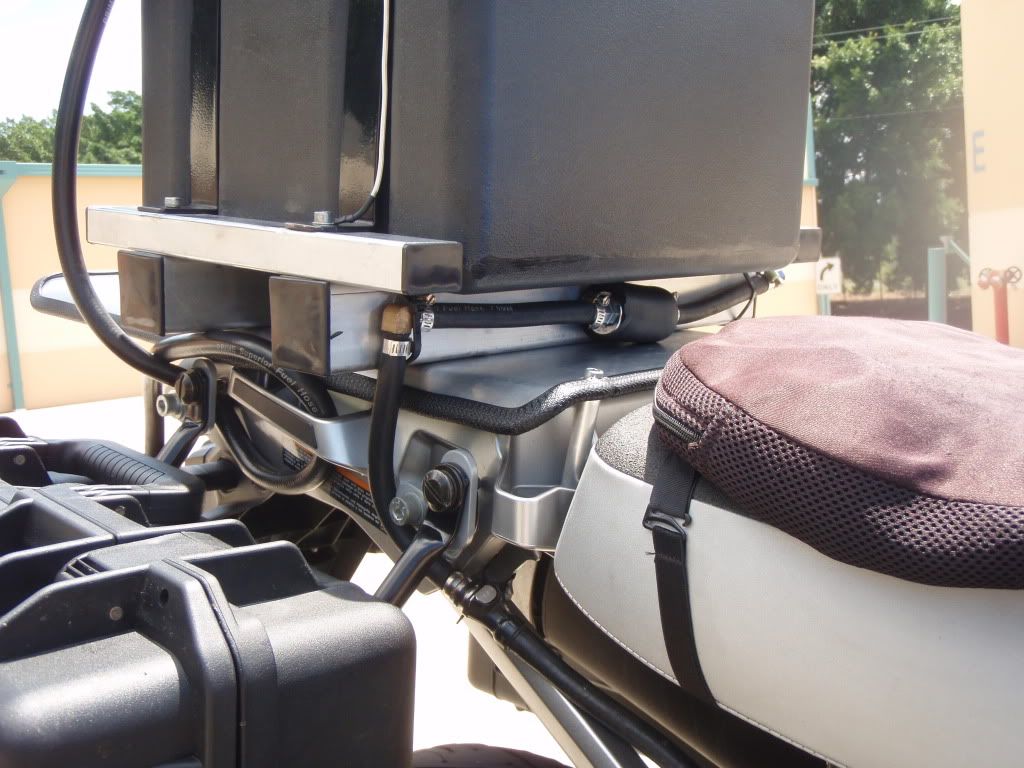
The right side has an elbow, then a BMW "dry break" quick disconnect, then hose to the bulkhead affixed to the main tank.
This image has been resized. Click this bar to view the full image. The original image is sized 600x450.
It gives an extra 5 US gal or 19 litres, so just under the IBR limit of 11.5 gal and good for well over 600km range.

This image has been resized. Click this bar to view the full image. The original image is sized 600x450.
2 screws and the tank is free to swing upward - I supported it with a strap to allow quick adjustment of the angle.
Disconnect the electrical plugs then methodically remove the hex screws from around the retaining ring.
Even with the tank syphoned "dry" fuel will flow once the pump is freed - catch it.
Removing the pump is difficult as the sender unit catches on the tank opening. I disconnected the sender while it was still in the tank.
Once out it can be clicked back together. Refitting it didn't catch on the tank opening.
I found an appropriate flat spot and used a "unibit" to make the hole.
The bulkhead and 90 deg elbow with barb was selected, fuel safe thread sealer used and tightened with a stubby-handled socket through the tank opening.
I fabbed a simple 3mm aluminium plate as a flat platform in place of the pillion seat and rear rack, drilled holes for the existing bolts and mounted up the tank on a simple frame. I can't weld - its all bolted.
On the left side of the JAZ tank there is a bulkhead, 90 degree ball valve and an inline filter.
The right side has an elbow, then a BMW "dry break" quick disconnect, then hose to the bulkhead affixed to the main tank.
It gives an extra 5 US gal or 19 litres, so just under the IBR limit of 11.5 gal and good for well over 600km range.